
Avatars Overview
Avatars is Intempt's AI brand-character library, where you browse built-in presets and your own custom characters, then generate identity-consistent images, voice, and renders for each one.
Overview
Avatars lives under Design in the console sidebar (/avatars). It's Intempt's library of AI-generated brand characters: people you can reuse across marketing images with a consistent face, body, and voice instead of generating a new person every time.
Every avatar you see is either a built-in preset or a custom character your team created, and both live side by side in the same library.
How it works
Browsing your avatar library
The list combines built-in presets and your custom characters into one view. You can:
- Search by name or category.
- Sort by "My characters first," "Presets first," "Recently updated," or "A → Z."
If your project has no avatars yet, the page shows "No avatars yet" with a "Create your first avatar" button. If a search or filter matches nothing, it shows "No avatars match" instead.
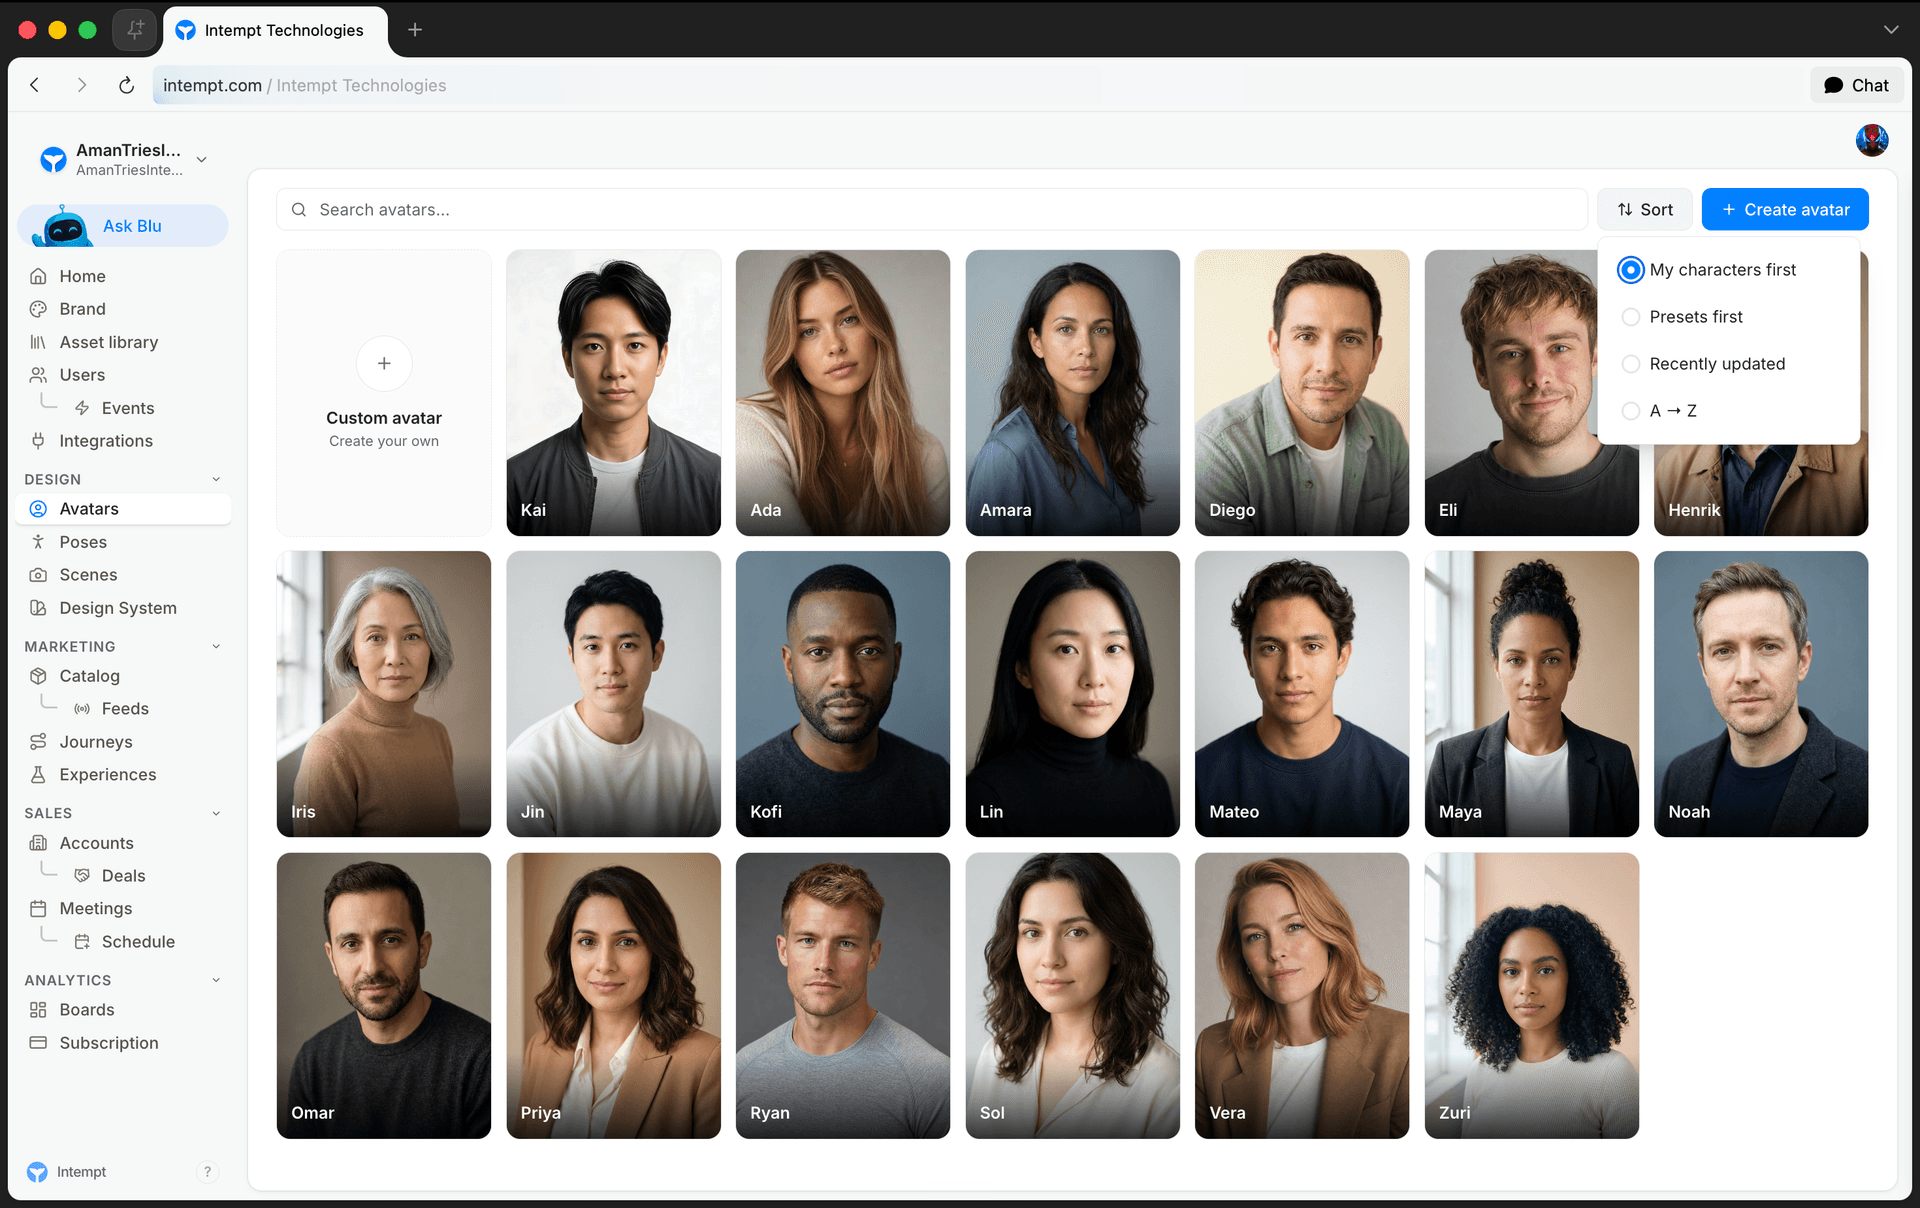
Creating an avatar
There's no blank form for building an avatar from scratch. Every creation path opens Blu, Intempt's AI chat panel, scoped to the avatar skill:
- The "Create avatar" button offers "Generate with Blu" (opens chat with no pre-filled text) or "Upload file" (accepts
.md,.txt, or.jsonfiles describing the character). - A dashed "Custom avatar" tile at the front of the grid opens chat with the prompt already filled in: "Create a new avatar from scratch. I'll describe them and upload reference photos."
Either way, you describe the character in chat and Blu generates the character record, including a main reference image, once the conversation produces one.
The character detail page
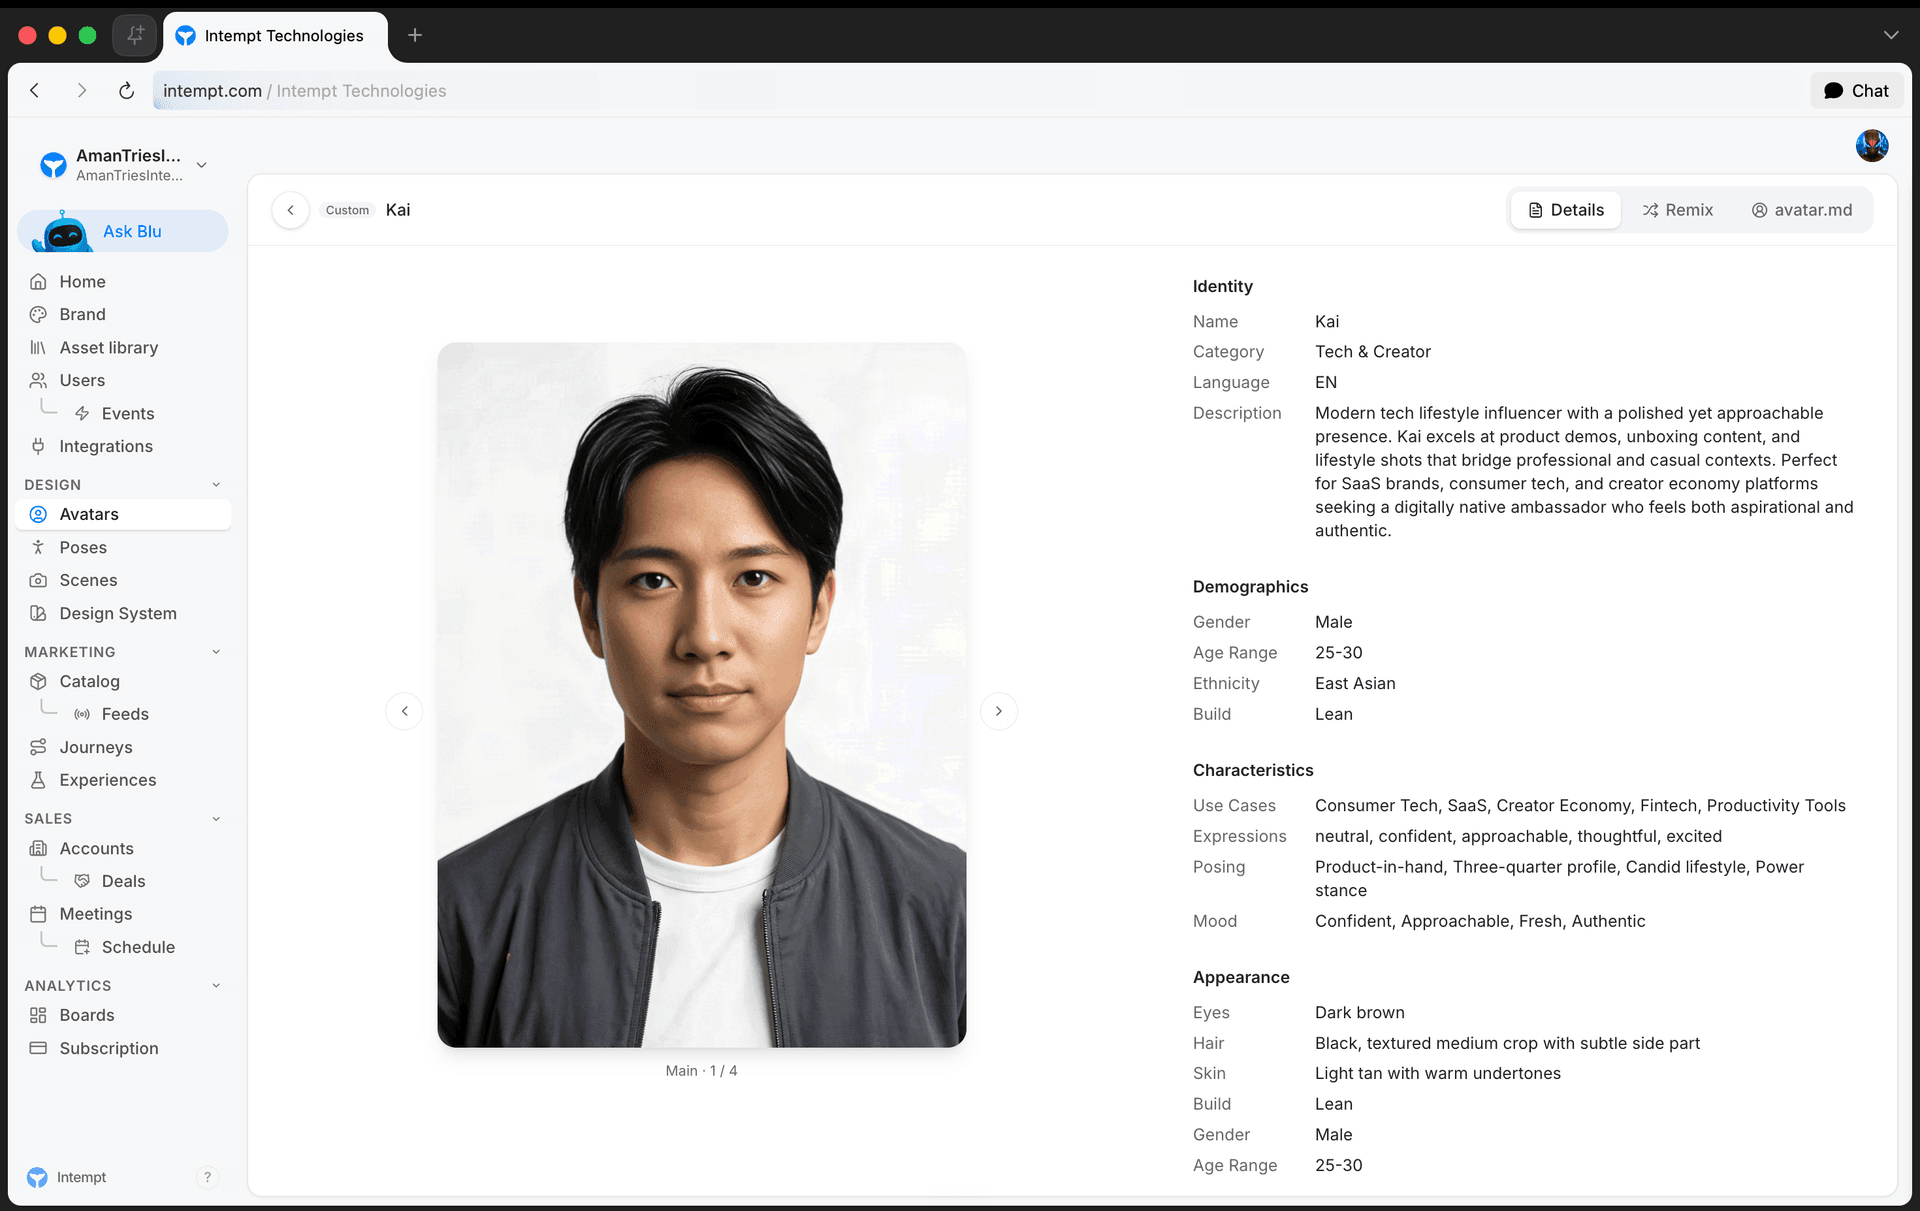
Opening any avatar shows the main reference image on the left and a Details panel on the right, with Remix and avatar.md tabs next to it.
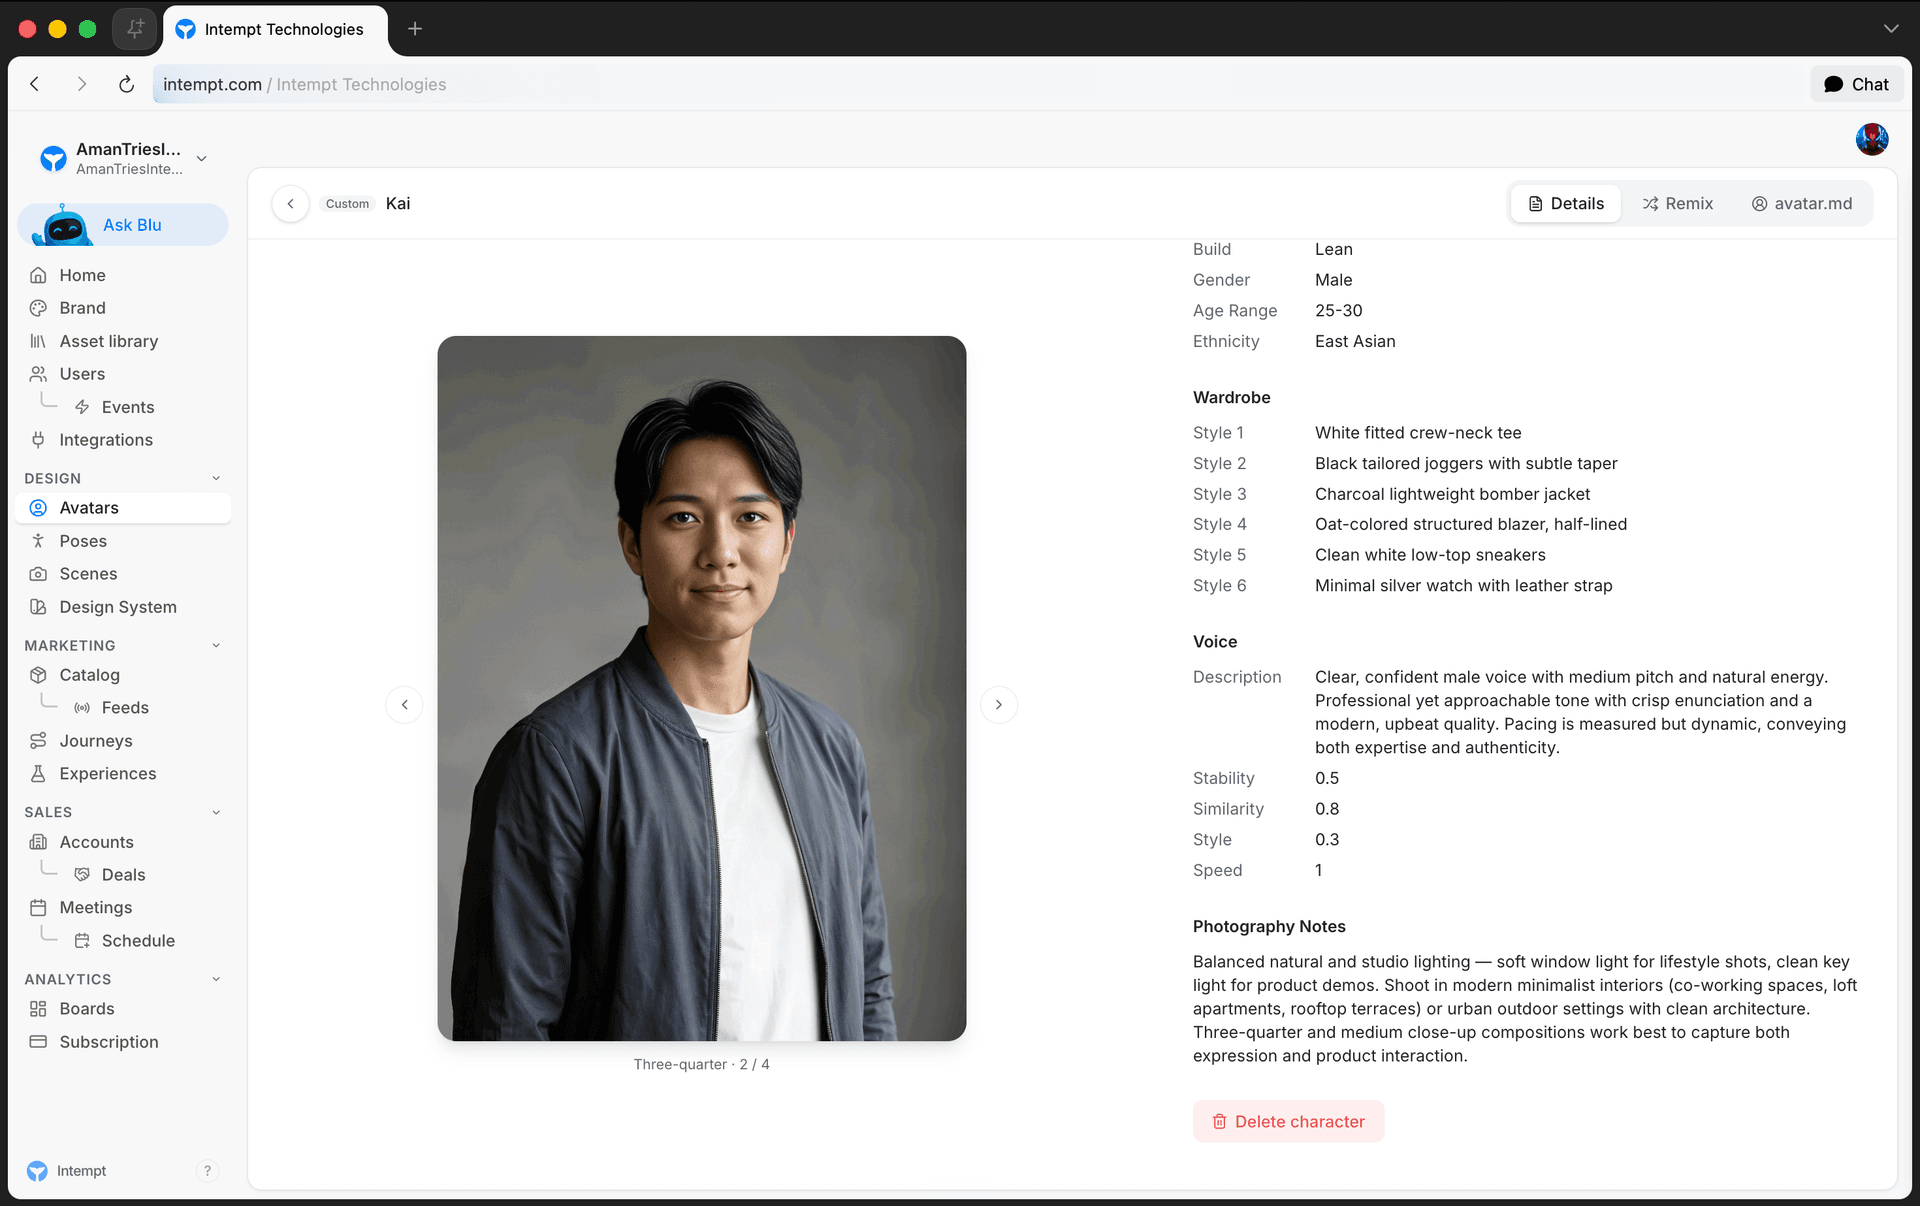
On the left, the image viewer pages through the character's generated images using the arrows below it (for example "Main · 1/4," then "Three-quarter · 2/4").
The Details panel groups everything about the character:
- Identity: name, category, language, and description.
- Demographics: gender, age range, ethnicity, and build.
- Characteristics: use cases, expressions, posing, and mood, shown as tag lists.
- Appearance: eyes, hair, skin, build, gender, and age range.
- Wardrobe: a numbered list of style entries.
- Voice: a text description plus four sliders (Stability, Similarity, Style, Speed).
- Photography Notes: free-text notes for how the character should be shot.
For custom avatars, a Delete character button sits at the bottom of the panel; presets have no delete action. The avatar.md tab shows the character's full markdown brief.
Presets vs. custom avatars
Built-in presets are read-only: you can view every field, but editing and deleting are reserved for custom avatars. To make a preset your own, use Remix. It copies the preset's metadata into a new custom character, but doesn't copy any images. You generate the new character's images from chat afterward, the same way you would for any custom avatar.
Use cases
- Standardizing a spokesperson. Reuse the same AI character across every marketing image instead of generating a new person each time.
- Starting from a preset instead of a blank brief. Remix a built-in character into your own editable copy rather than describing demographics and wardrobe from scratch.
- Building a full emotion set for a campaign. Generate several of the 10 fixed emotion renders so a character has coverage for different ad placements.
- Giving a character a consistent voice. Set a voice description and tune the stability/similarity/style/speed sliders so scripts sound the same everywhere the character speaks.
- Bringing in an existing character brief. Upload a
.md,.txt, or.jsonfile describing the avatar instead of typing it into chat. - Sharing a character's brief with a teammate or agency. Copy the AVATAR.md markdown from the detail page instead of re-describing the character by hand.
- Refining a character's identity. Update photography notes or wardrobe, then regenerate the main image and renders together so every image reflects the same updated identity.
- Auditing what's built-in vs. custom. Filter by source to separate your own characters from presets before deciding what to remix or delete.
Where to go next
- Brand Kit – manage your brand's broader identity, styles, and voice.
- Creating a Custom Avatar – step-by-step avatar creation, from chat prompt to a finished character.
Brand Enforcement Across Channels
How the Design system, Scene, and Avatar you set in Brand Kit carry into every ad you build in Creative Studio, so the same identity holds across every placement.
Creating a Custom Avatar
Start a chat with Blu from the Avatars page, describe the character you want, and get a main reference image and reference slots to build on.