
Remixing a Scene
Remix turns one of Intempt's built-in Scene presets into a custom scene you can edit, by handing off to a Blu chat conversation that creates the copy for you.
Overview
Scenes is Intempt's library of photo-studio presets: combinations of lighting, camera, background, surface, color palette, style, film type, scene, and pose that give your product photography a consistent visual stage. It lives under Design in the console sidebar, at /scenes.
Built-in presets are read-only. Remix is how you turn one into a custom scene you can actually edit — but it doesn't open a form or copy fields directly. It hands off to Blu, Intempt's AI chat, with a pre-filled instruction to create a variation; the new custom scene only exists once that conversation produces one.
How it works
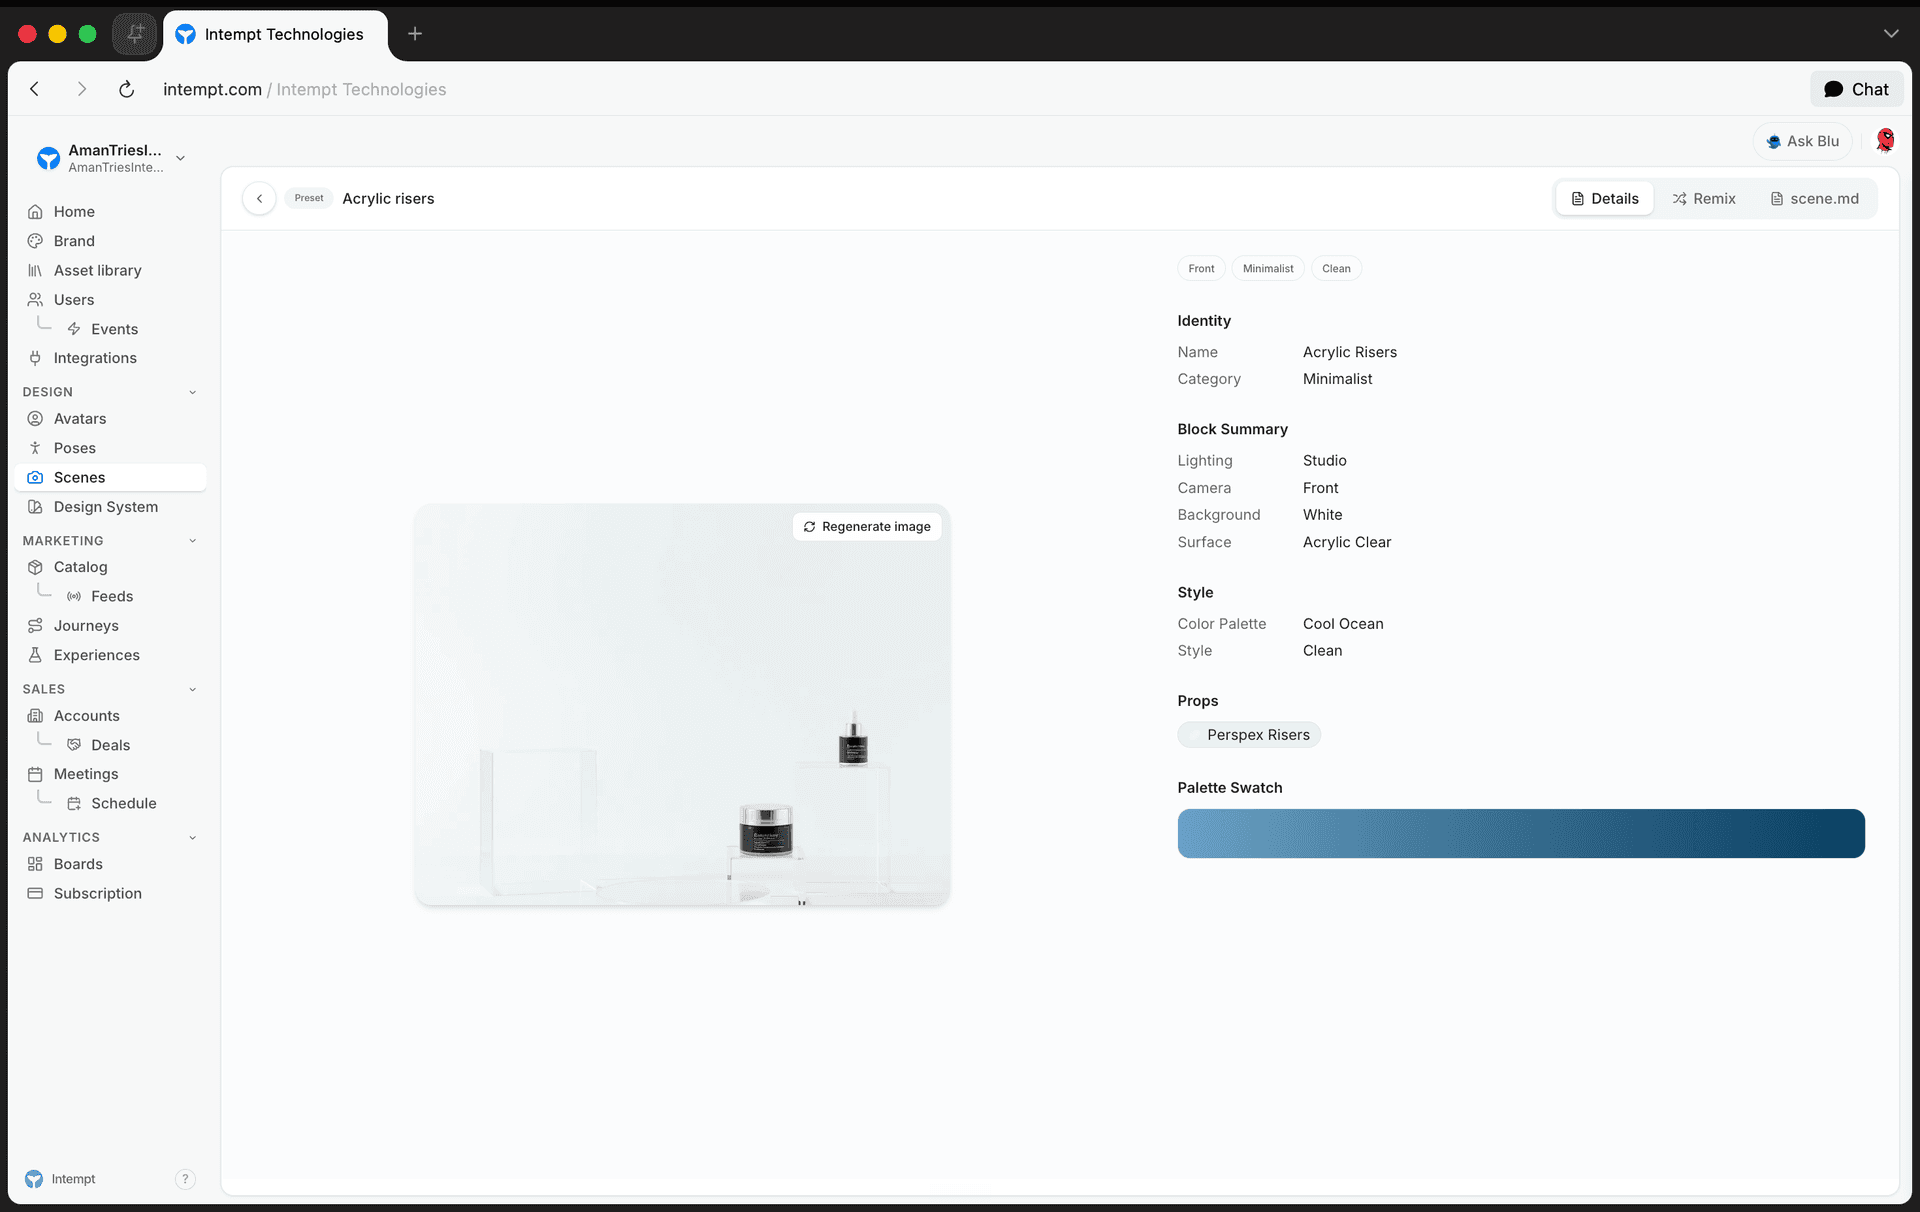
Remix is only available from a preset's detail page, as one of three tabs at the top: Details, Remix, and scene.md. There's no remix action on the Scenes list itself.
Clicking Remix isn't a panel you stay on — it immediately opens Blu chat with the prompt "Remix the '<scene name>' scene — create a custom variation I can adjust" already filled in, and the tab snaps back to Details behind it. From there, you continue the conversation: send it as-is, or describe what you want changed first. Blu creates a new custom scene once the conversation produces one.
Once that custom scene exists, you land on its own detail page, where an Edit button (shown only on custom scenes, not presets) opens the same block-category picker used for building any scene, pre-filled with the settings from the preset you remixed. That's where you adjust Lighting, Camera, Background, and every other block field by field, and where the new scene's name is editable.
📘 Good to know
Scenes is internally called "Studio" in a few places the UI hasn't caught up on yet. The delete confirmation reads "Delete Studio composition," and the update/delete toasts read "Studio updated" and "Studio deleted" instead of "Scene."
Getting started
Open a preset
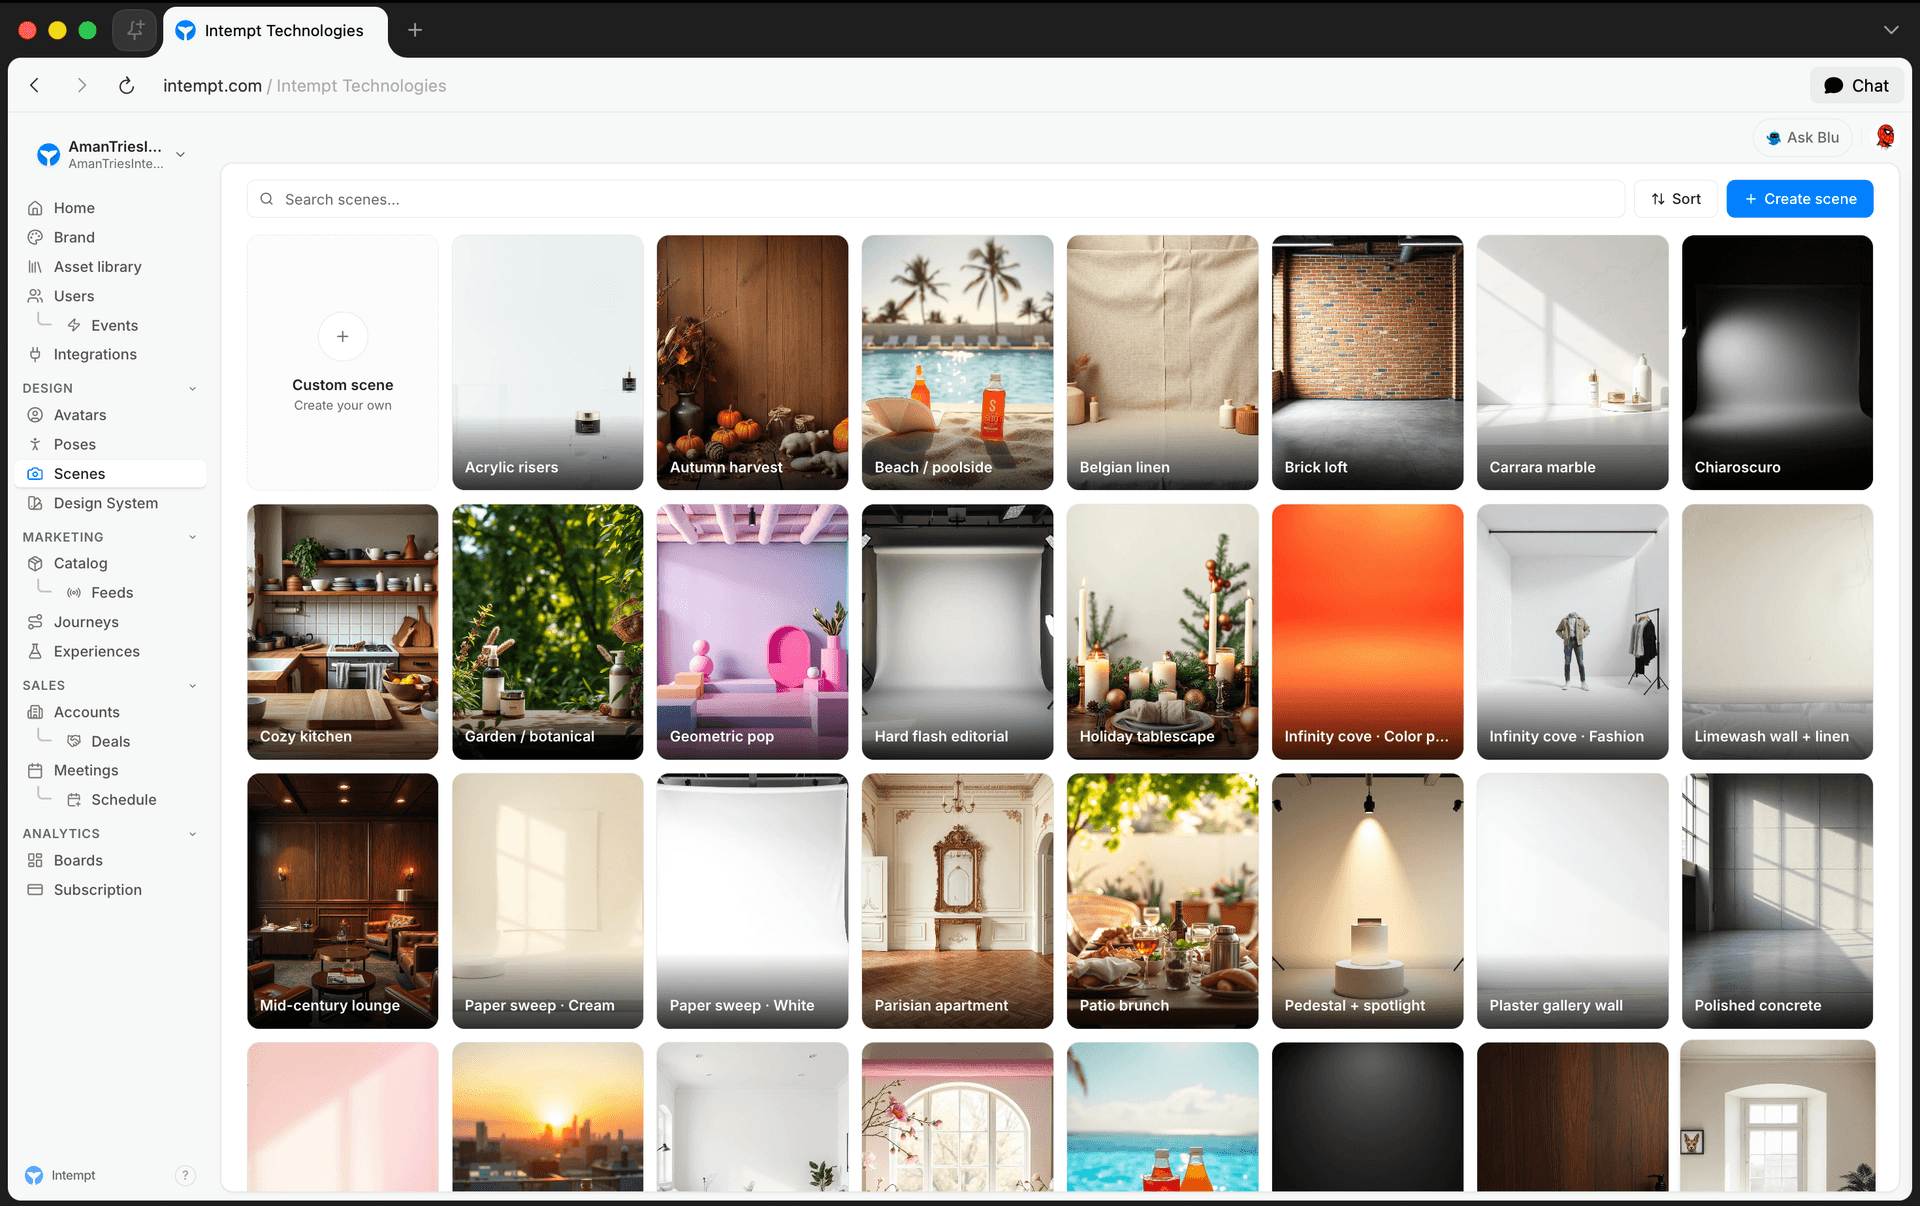
Go to Design > Scenes, then click any built-in scene card to open its detail page. The list's card grid doesn't show a "Preset" badge — that only appears once you're on the scene's own detail page, next to its name.
Click Remix
On the preset's detail page, click the Remix tab at the top.
Continue in Blu chat
Remix opens Blu chat with a pre-filled remix instruction. Send it as-is, or add details about what you want changed first. Blu creates a new custom scene once the conversation produces one, and you land on its detail page.
Adjust the block categories
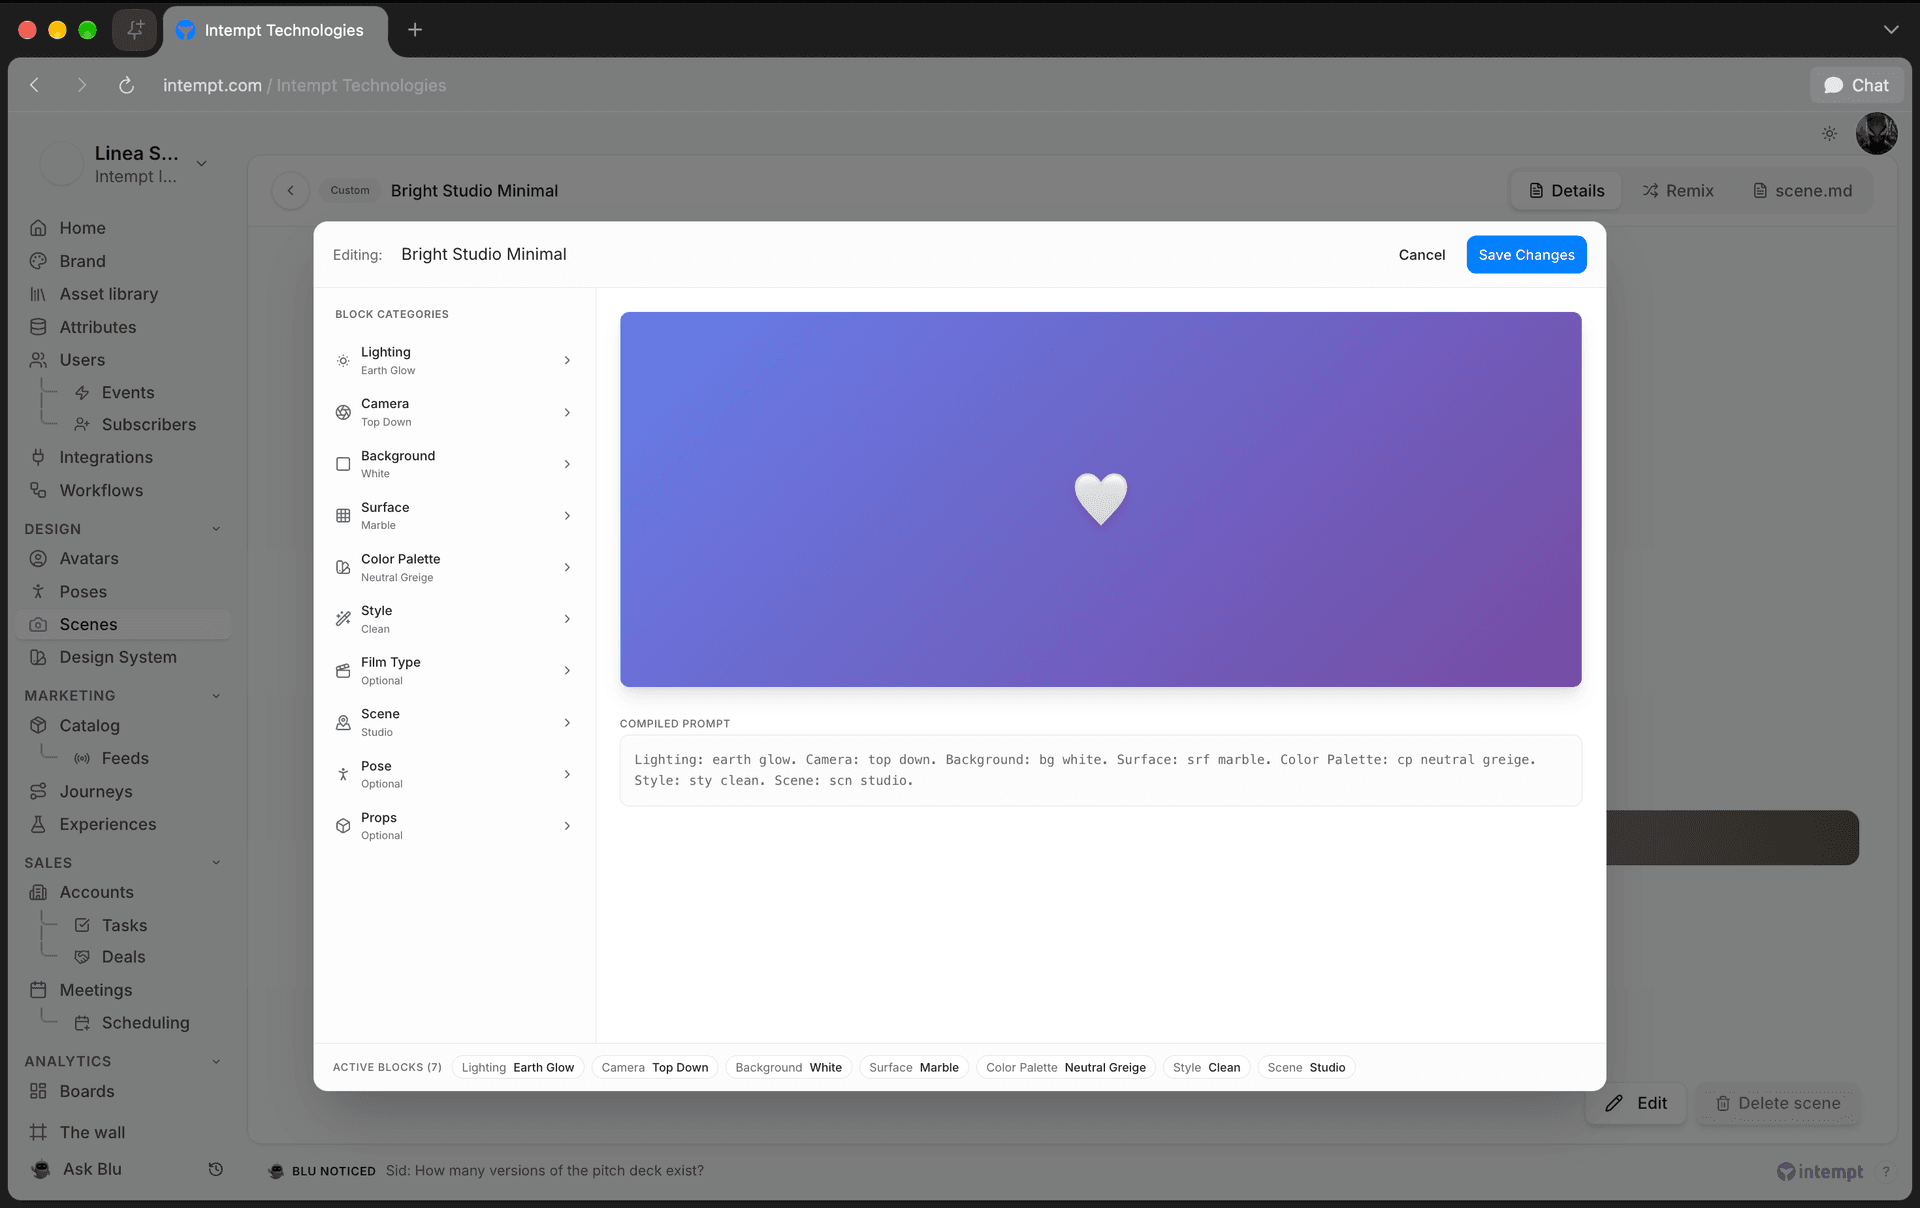
On the new custom scene's detail page, click Edit to open the block editor. The left panel lists 9 block categories:
- Required (no None option): Lighting, Camera, Background, Surface.
- Optional (with a None option to clear): Color Palette, Style, Film Type, Scene, Pose.
Click a category to see its options, then pick one. The center panel updates a live preview and a compiled prompt as you go.
Adjust props (optional)
Click Props in the left panel to add or remove items from a fixed list of 12: monstera, flowers, books, fabric drape, geometric, candles, water droplets, smoke mist, ingredients, seasonal props, ice condensation, and perspex risers. Click No props to clear the selection back to none.
📘 Good to know
Props don't have an enforced limit in the editor, even though the underlying preset design intends a maximum of 4. Pick as few or as many as you need for the shot.
Changes save automatically
Every change you make in the block editor saves immediately — there's no separate save step or "Done" button. Close the editor once you're finished adjusting the scene.
Use cases
- Starting from a brand-aligned preset. Remix a preset that already matches your brand's aesthetic instead of building block-by-block from scratch.
- Swapping just the background. Remix a preset you like, then change only Background to test the same lighting and camera setup in a different environment.
- Building a seasonal variant. Remix a core preset and set Props to seasonal items for a limited-time campaign, without touching the original preset.
- Testing a different film type. Remix a preset and change Film Type to compare a warmer or cooler look against the original.
- Locking in a surface for flat-lay shots. Remix a preset and set Surface to a flat, textured option better suited to top-down product shots.
- Reducing prop clutter. Remix a busier preset and clear its props back to none for a cleaner, more minimal shot.
- Creating a house style your team reuses. Remix a preset once, adjust it to your standard setup, then reuse that custom scene across every future shoot instead of remixing again.
Where to go next
- Creating Custom Poses - the same remix pattern applies to Poses, another preset-backed library under Design.
- Avatars Overview - pair a scene with an avatar character to complete a shot.
Poses Library Overview
Every field a pose record carries in Intempt's Poses library: identity fields, composition anatomy, compatibility fields, and how presets differ from custom poses.
Scenes Library Overview
Scenes is Intempt's library of photo-studio recipes: saved lighting, camera, and environment combinations you apply for a consistent backdrop across every product shot.