Generating Brand Assets
Generate a reusable Avatar, Pose, Scene, and Design System with Blu, then reuse them to keep your image generations and brand content consistent.
Overview
Avatars, Poses, Scenes, and Design Systems are reusable brand building blocks you generate once with Blu, then reuse anywhere Blu creates content for you:
- Generate an Avatar and reuse it across your image generations so the same character shows up every time, instead of a different person in each image.
- Poses and Scenes set the body language, lighting, camera, and background for a shot, so you can reuse the same setup across multiple images instead of describing it from scratch each time.
- A Design System defines your brand's colors, typography, and style. Once set, it keeps emails and other content Blu generates visually consistent with your brand instead of drifting from one piece to the next.
- Each library also ships with built-in presets you don't have to generate at all. Use one as-is right away, or Remix it to duplicate it into your own custom version and put your own spin on it, instead of starting from a blank chat.
All four are generated the same way: through Blu Chat. Open any of the four pages in Brand Kit, describe what you want, and Blu builds the asset directly into that library. There's no separate generation form. Blu Chat is the generation flow.
This article covers the chat mechanics shared across all four pages: how each page connects to Blu, what "Generate with Blu" and "Upload file" actually do, and how remixing and regenerating work once an asset exists.
How it works
The creation flow is the same for all four
Click Create, then either Generate with Blu (describe what you want) or Upload file (attach a brief and Blu builds from that instead). Same two options, whichever of the four you're creating.

Shown here on Avatars. Poses, Scenes, and Design Systems use the same pattern.
Editing and remixing what Blu made
Every asset library ships with built-in presets alongside anything you generate. Presets are read-only. Opening one shows a "Remix" action instead of edit controls; remixing duplicates the preset into a new custom asset you can then edit or ask Blu to change.
💡 Good to know
The name Blu gives a remix depends on the asset type. Avatars, Poses, and Scenes name the copy <Name> (Custom). Design Systems name it <Name> (Remix). Either way, the original preset is untouched.
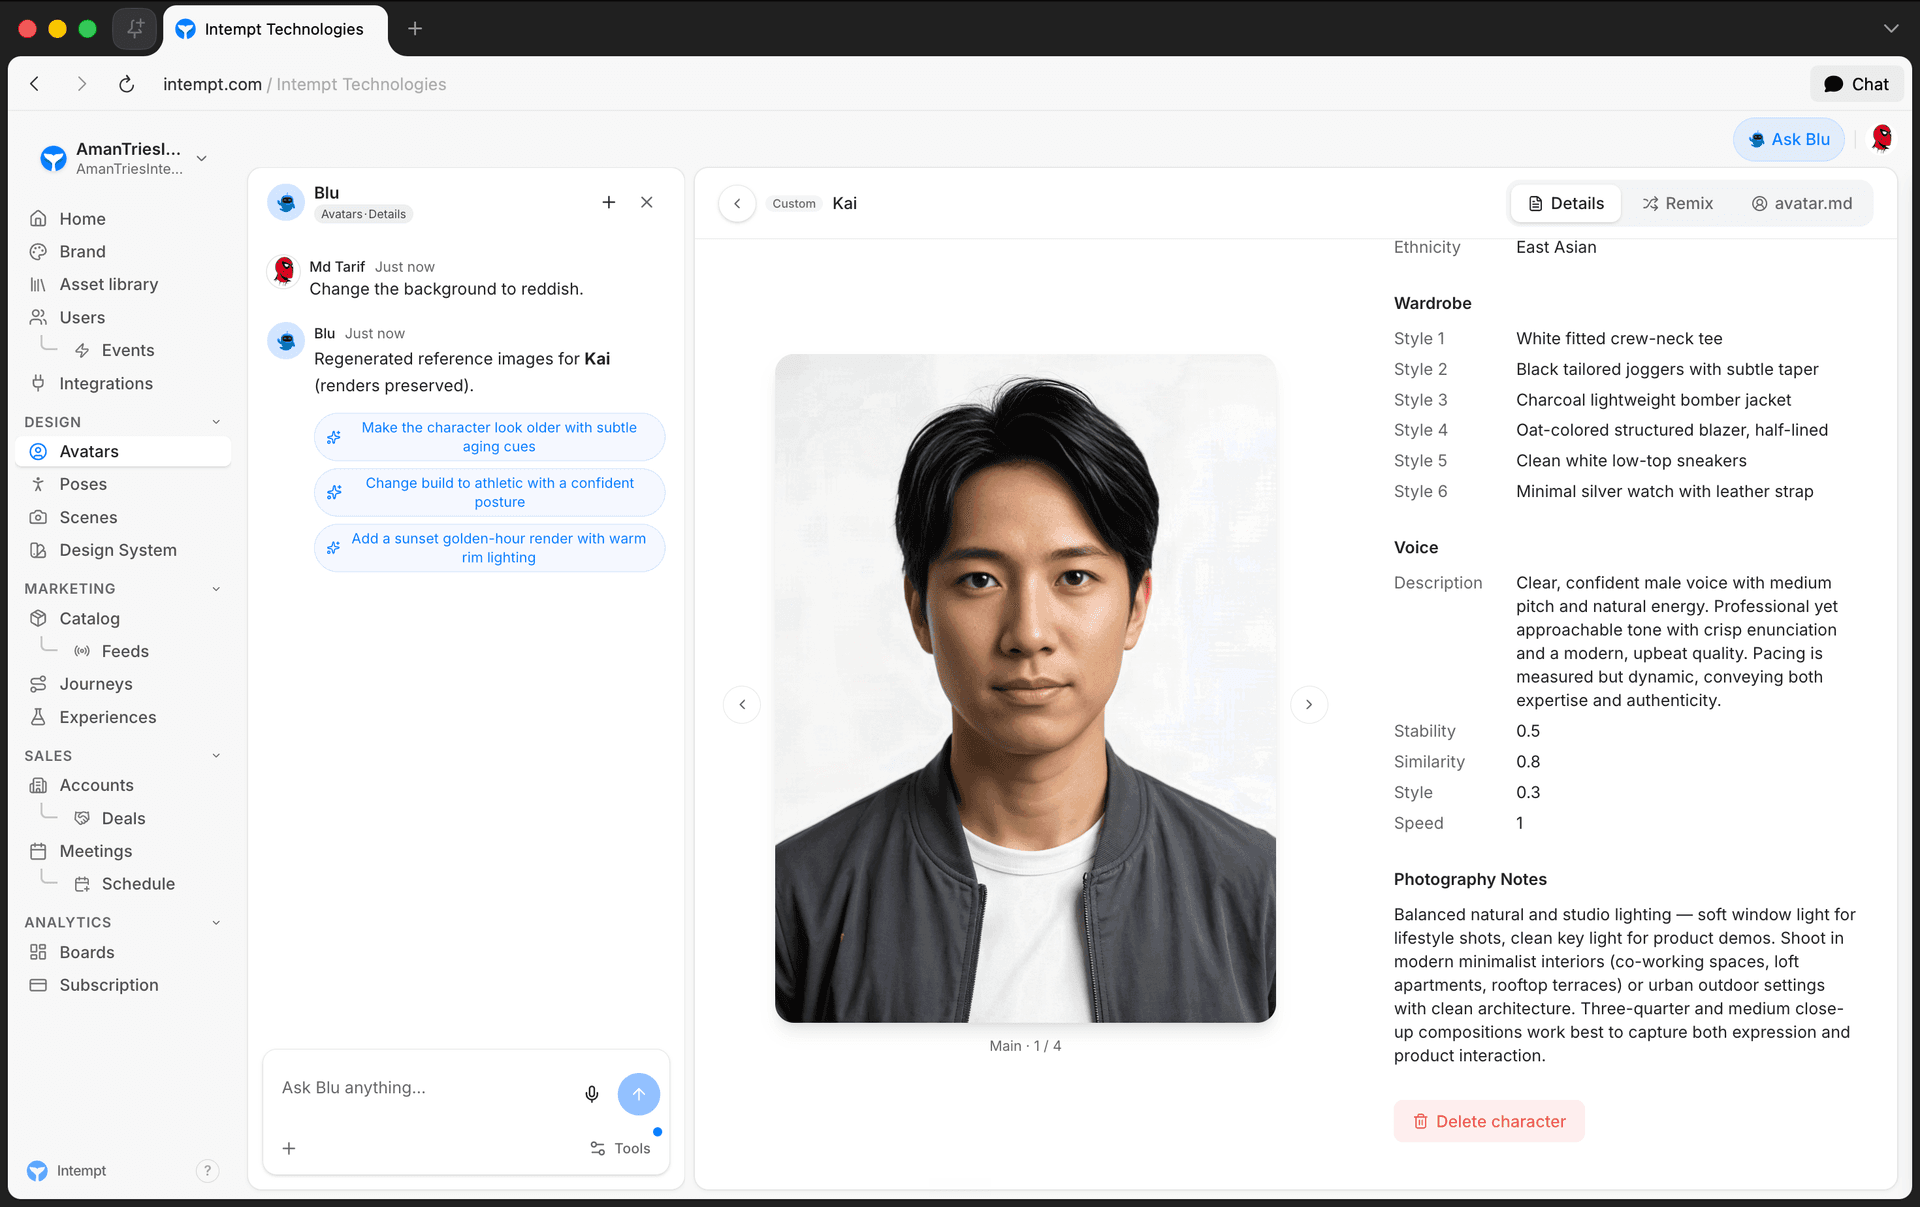
Shown here on an avatar's detail view. The same Remix/Delete/scoped-chat pattern applies to Poses, Scenes, and Design Systems.
- Detail header. Shows the asset name, a badge marking it built-in or custom, and a Remix action, shown for both built-in and custom assets. Custom assets also get a Delete button, further down the page below the details.
- Chat panel. Stays scoped to this specific asset while its detail view is open, so follow-up messages edit it instead of creating something new.
Once an asset is open, you can ask Blu to change specific things about it instead of starting over:
- On an avatar, ask Blu to regenerate just the main reference image (this also re-renders every other image, since a new main implies a new face) or add a new render for a specific expression or setting.
- On a pose or a scene, ask Blu to regenerate the reference image with the current settings after you've changed something.
Design Systems don't have a regenerate-image action. A design system is a set of colors, type, and styling rules rather than a single rendered photo, so changes there go through its own editor and chat, not an image regeneration step.
Getting started
Generate an avatar
- Go to Avatars.
- Click Create avatar → Generate with Blu, or click the Custom avatar tile to start with a pre-filled prompt.
- Describe the character: appearance, gender, age range, ethnicity, wardrobe, and the vertical you're shooting for.
- Blu returns a model brief and four reference images: main reference, three-quarter, full body, and product-in-hand.
- Ask Blu to regenerate the main image or add more renders if you need a different expression or setting.
Generate a pose
- Go to Poses.
- Click Create pose → Generate with Blu and describe the pose, or Upload file if you already have a brief.
- Blu returns a pose with its framing, direction, and energy set, plus a reference image.
- To adjust an existing custom pose instead of creating a new one, open it and edit its fields inline. Editing patches the pose directly.
Generate a scene
- Go to Scenes.
- Click Create scene → Generate with Blu, or upload a file describing the studio setup you want.
- Describe the lighting, camera, background, and mood. You can also specify a pose to shoot in, since a scene's configuration includes lighting, camera, background, surface, color palette, style, film type, scene, and pose together.
- Blu returns a scene composition and a reference image.
Generate a design system
- Go to Design Systems.
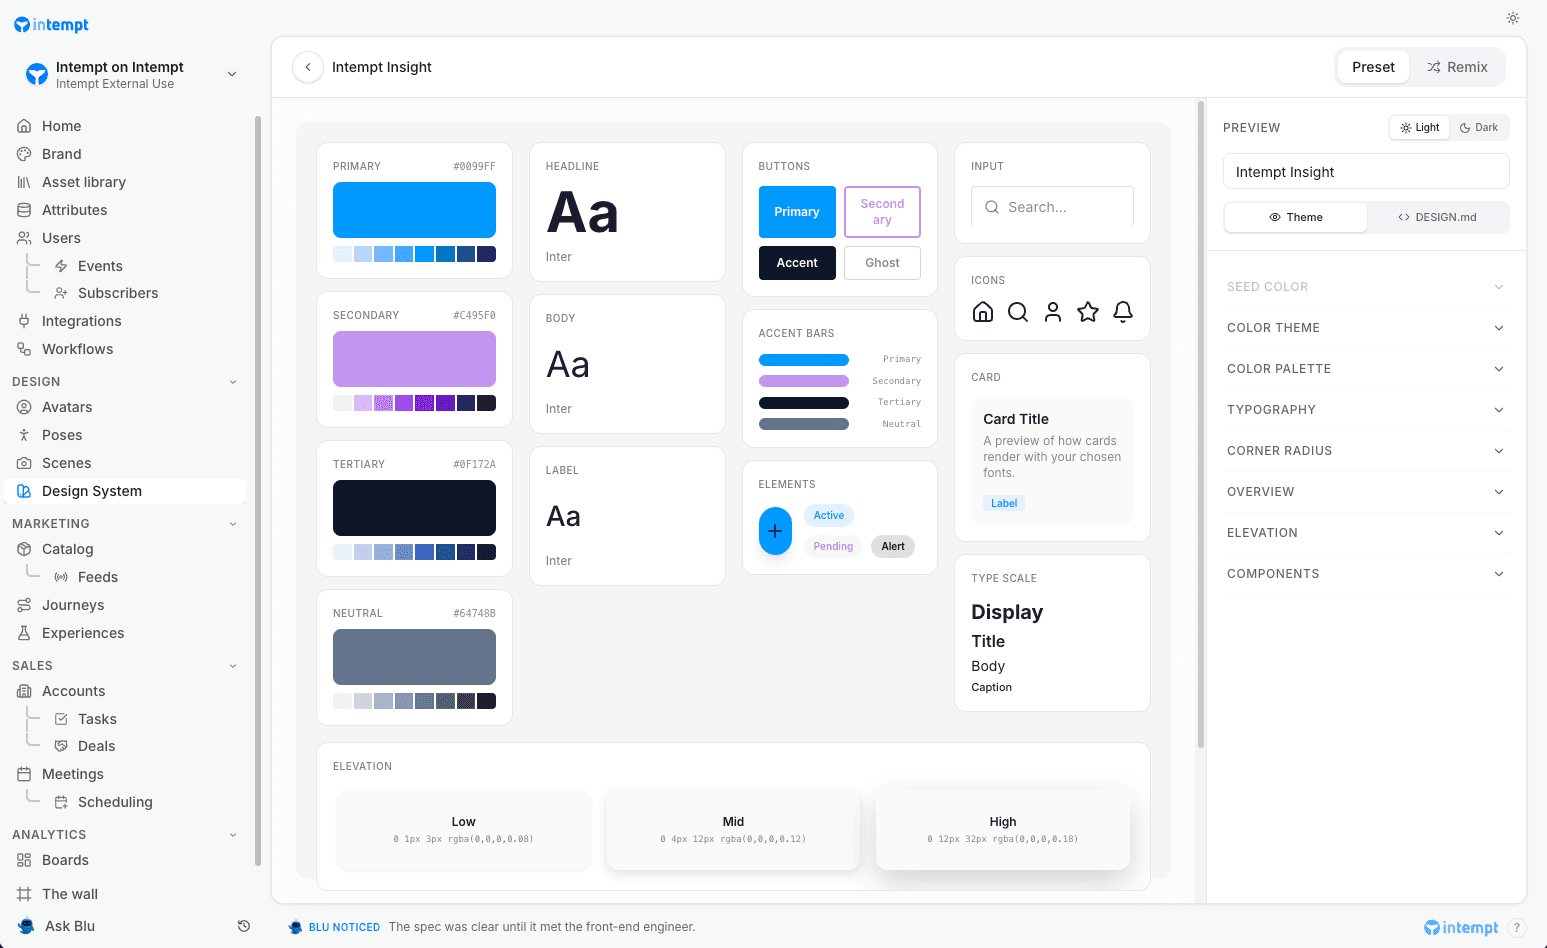
- Click Create design system → Generate with Blu and describe your brand's colors and typography, or upload an existing DESIGN.md file.
- Blu returns a design system record: color theme, palette, and an overview description.
- Open it to review or edit the colors and typography directly in the design system editor.
Use cases
- Consistent character across a campaign. Generate one avatar, then ask Blu for additional renders (a new setting, a new expression) instead of generating a new character each time, so the face and body stay consistent across every asset.
- Matching a pose to a vertical. Remix a preset pose or describe a new one when the shot calls for body language specific to your vertical, such as apparel, beauty, or fitness.
- Building a full shot in one request. Describe lighting, camera, background, and pose together when generating a Scene, instead of creating each piece separately.
- Starting from a brief instead of a blank chat. Upload a file instead of describing it from scratch, so Blu works from your existing brief.
- Fixing one detail without starting over. Regenerate just an avatar's main image, or a scene's reference image, after a settings change, instead of generating the asset again from scratch.
- Customizing a built-in preset. Remix any preset avatar, pose, scene, or design system into a custom copy, then edit only the fields that need to change.
- Keeping brand colors consistent everywhere. Generate one Design System, then reuse it across emails and other content instead of matching colors and typography by hand each time.
Where to go next
Using the Asset Library
How Blu drafts and edits every Asset library item: images, HTML and plain-text email, SMS, Push, Slack, and JSON, and fixes emails from their preflight report.
Drafting Emails and Replies with Blu
Blu triages your inbox, drafts replies for emails that need one, and generates outreach email you can send from a prospect's profile.